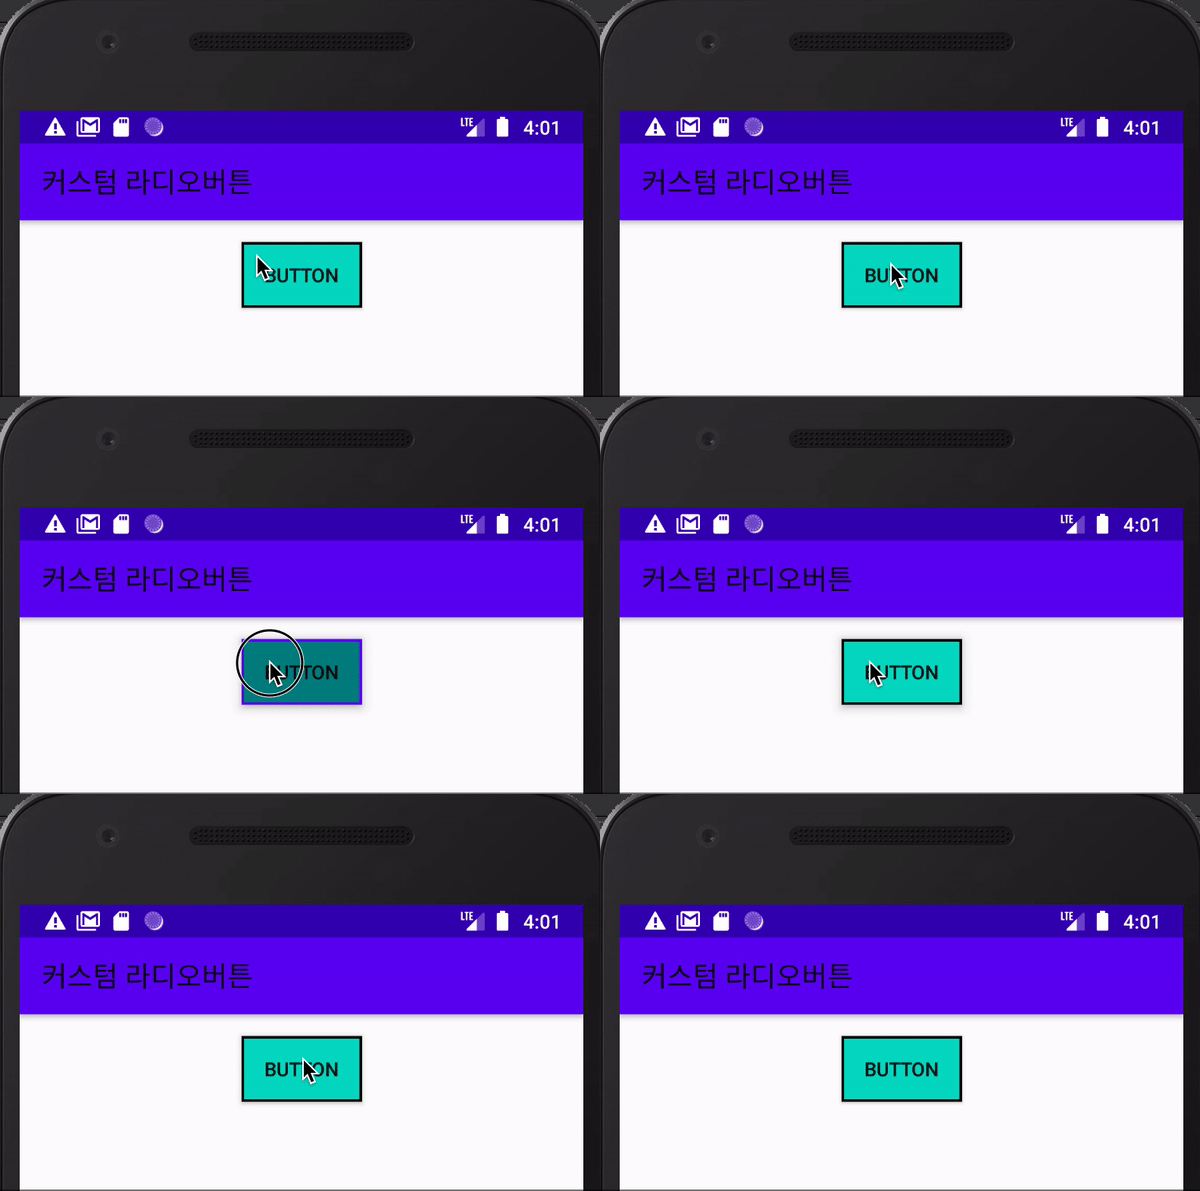
안드로이드의 selector를 사용하면,
뷰(View)의 상태에 따라 다른 배경색/테두리/이미지 등을 적용할 수 있다.

위의 예제처럼
Button을 눌렀을 때와 땠을 때 다른 배경색/테두리를 적용하기 위해선
아래의 2개 파일만 작업해주면 된다.
- selector_button.xml 파일
: Button을 눌렀을 때와 땠을 때 적용할 셰이프(shape)의 면(solid)과 선(stroke)를 다르게 설정
<?xml version="1.0" encoding="utf-8"?>
<selector xmlns:android="http://schemas.android.com/apk/res/android">

    <!-- 버튼이 눌렸을 때 -->
    <item android:state_pressed="true">
        <shape android:shape="rectangle">
            <solid android:color="#FF018786" />
            <stroke android:width="2dp" android:color="#FF6200EE" />
        </shape>
    </item>

    <!-- 버튼이 안 눌렸을 때(디폴트) -->
    <item android:state_pressed="false">
        <shape android:shape="rectangle">
            <solid android:color="#FF03DAC5" />
            <stroke android:width="2dp" android:color="#000000" />
        </shape>
    </item>

</selector>
- activity_main.xml 파일
: Button의 background 속성에 selector_button.xml을 적용
<?xml version="1.0" encoding="utf-8"?>
<androidx.constraintlayout.widget.ConstraintLayout xmlns:android="http://schemas.android.com/apk/res/android"
    xmlns:app="http://schemas.android.com/apk/res-auto"
    xmlns:tools="http://schemas.android.com/tools"
    android:layout_width="match_parent"
    android:layout_height="match_parent"
    tools:context=".MainActivity">

    <Button
        android:background="@drawable/selector_button"
        android:id="@+id/button"
        android:layout_width="wrap_content"
        android:layout_height="wrap_content"
        android:layout_marginTop="16dp"
        android:clickable="true"
        android:text="Button"
        app:layout_constraintEnd_toEndOf="parent"
        app:layout_constraintStart_toStartOf="parent"
        app:layout_constraintTop_toTopOf="parent" />
</androidx.constraintlayout.widget.ConstraintLayout>
이걸로 끝이다.
자세한 사용방법은 아래와 같다.
# selector 사용 방법
1. selctor XML 파일 생성
- res > drawable 폴더에 XML파일을 생성한다.
2. selector 태그 추가
- 네임스페이스 설정: xmlns:android="http://schemas.android.com/apk/res/android"
3. item 태그 추가
- selector태그 내부에 중첩태그로 상태별 item태그를 추가한다.
4. 리소스 설정
- item 태그의 drawable 속성에 상태별로 적용할 리소스(이미지, shape 등) 설정한다.
5. selector 적용
- 레이아웃.XML파일에서 뷰 객체의 background 속성 등에 selector 를 적용한다.
# selctor, item 태그 사용 방법
- selector.xml 파일
: 각 상태별로 item태그를 생성해주고, drawable속성에 상태별로 적용할 리소스(이미지 등)을 설정해준다.
: 주로 버튼이 눌린 상태(pressed), 라디오버튼이나 체크박스가 체크된 상태(checked)를 많이 사용한다.
: 주요 상태에 대한 설명은 아래 코드 참조 (더 많은 상태는 레퍼런스 참고)
: 파일명은 임의로 지정하면 된다.
<?xml version="1.0" encoding="utf-8"?>
<selector xmlns:android="http://schemas.android.com/apk/res/android">

    <item
        android:state_focused="true"
        android:drawable="@drawable/포커스 상태(입력 등)에 적용할 리소스" />

    <item
        android:state_focused="true"
        android:drawable="@drawable/포커스 해제상태(입력 등)에 적용할 리소스" />

    <item
        android:state_checked="true"
        android:drawable="@drawable/체크 상태(라디오버튼/체크박스등)에 적용할 리소스" />

    <item
        android:state_checked="false"
        android:drawable="@drawable/체크 해제상태(라디오버튼/체크박스등)에 적용할 리소스" />

    <item
        android:state_pressed="true"
        android:drawable="@drawable/눌린 상태(터치/클릭 등)에 적용할 리소스" />

    <item
        android:state_pressed="false"
        android:drawable="@drawable/눌리지 않은 상태(터치/클릭 등)에 적용할 리소스" />

</selector>
- activity_main.xml 파일
: selector를 적용할 View의 background 속성에 설정하면 된다.
: 아래에서는 selector_button.xml 을 Button의 background로 설정했다.
<?xml version="1.0" encoding="utf-8"?>
<androidx.constraintlayout.widget.ConstraintLayout xmlns:android="http://schemas.android.com/apk/res/android"
    xmlns:app="http://schemas.android.com/apk/res-auto"
    xmlns:tools="http://schemas.android.com/tools"
    android:layout_width="match_parent"
    android:layout_height="match_parent"
    tools:context=".MainActivity">

    <Button
        android:background="@drawable/selector_button"
        android:id="@+id/button2"
        android:layout_width="wrap_content"
        android:layout_height="wrap_content"
        android:text="Button"
        app:layout_constraintBottom_toBottomOf="parent"
        app:layout_constraintEnd_toEndOf="parent"
        app:layout_constraintStart_toStartOf="parent"
        app:layout_constraintTop_toTopOf="parent" />
</androidx.constraintlayout.widget.ConstraintLayout>
# shape 태그 사용방법
shape 태그를 사용하면, 선과 면이 있는 도형을 적용할 수도 있다.
shape태그는 아래의 중첩 태그를 이용해 도형을 정의한다.
1) solid: 도형의 배경색(면)
2) stroke: 선(테두리)
3) corners: 둥근 모서리(radius)
4) gradient: 그라데이션
5) padding: 패딩(내부 여백)
6) size: 크기(높이, 너비)
<?xml version="1.0" encoding="utf-8"?>
<selector xmlns:android="http://schemas.android.com/apk/res/android">

    <item>
        <shape android:shape="rectangle | oval | line | ring" >
            <solid android:color="color" />
            <stroke
                android:width="integer"
                android:color="color"
                android:dashWidth="integer"
                android:dashGap="integer" />
            <corners
                android:radius="integer"
                android:topLeftRadius="integer"
                android:topRightRadius="integer"
                android:bottomLeftRadius="integer"
                android:bottomRightRadius="integer" />
            <gradient
                android:angle="integer"
                android:centerX="float"
                android:centerY="float"
                android:centerColor="integer"
                android:endColor="color"
                android:gradientRadius="integer"
                android:startColor="color"
                android:type="linear | radial | sweep"
                android:useLevel="true | false"] />
            <padding
                android:left="integer"
                android:top="integer"
                android:right="integer"
                android:bottom="integer" />
            <size
                android:width="integer"
                android:height="integer" />
        </shape>

    </item>
</selector>
1) 위의 코드처럼 상태별 item태그 내부의 중첩태그로 shape를 생성해도 되고,
2) 별도로 XML파일을 만들어 shape를 최상위 태그로 작성한 다음, selector파일의 상태별 item태그의 drawable 속성에 설정해도 된다.
# 참고 사항
버전에 따라 Button의 background 속성에 커스텀 selector를 적용해도 작동하지 않는 문제가 있다.
해결 방법은 아래의 2가지가 있다.
1. theme.xml 파일의 parent 항목에서 MaterialComponents를 AppComapt으로 수정
- 변경전: <style name="Theme.LifeTimer" parent="Theme.MaterialComponents.DayNight.DarkActionBar">
- 변경후: <style name="Theme.LifeTimer" parent="Theme.AppCompat.DayNight.DarkActionBar">
* MaterialComponents대신 AppCompat를 쓰기만 하면 된다. 즉, Theme.AppCompat.Light 등으로 바꿔도 된다.
2. 테마를 변경하는게 싫다면, 레이아웃.XML파일에서 Button을 생성하는 코드를 수정
변경전: <Button />
변경후: <androidx.appcompat.widget.AppCompatButton />
이에 대한 자세한 내용은 아래 글 참고
[안드로이드] Button의 background 설정 및 커스텀 drawable(selector 등) 적용 불가 해결 방법
# 응용
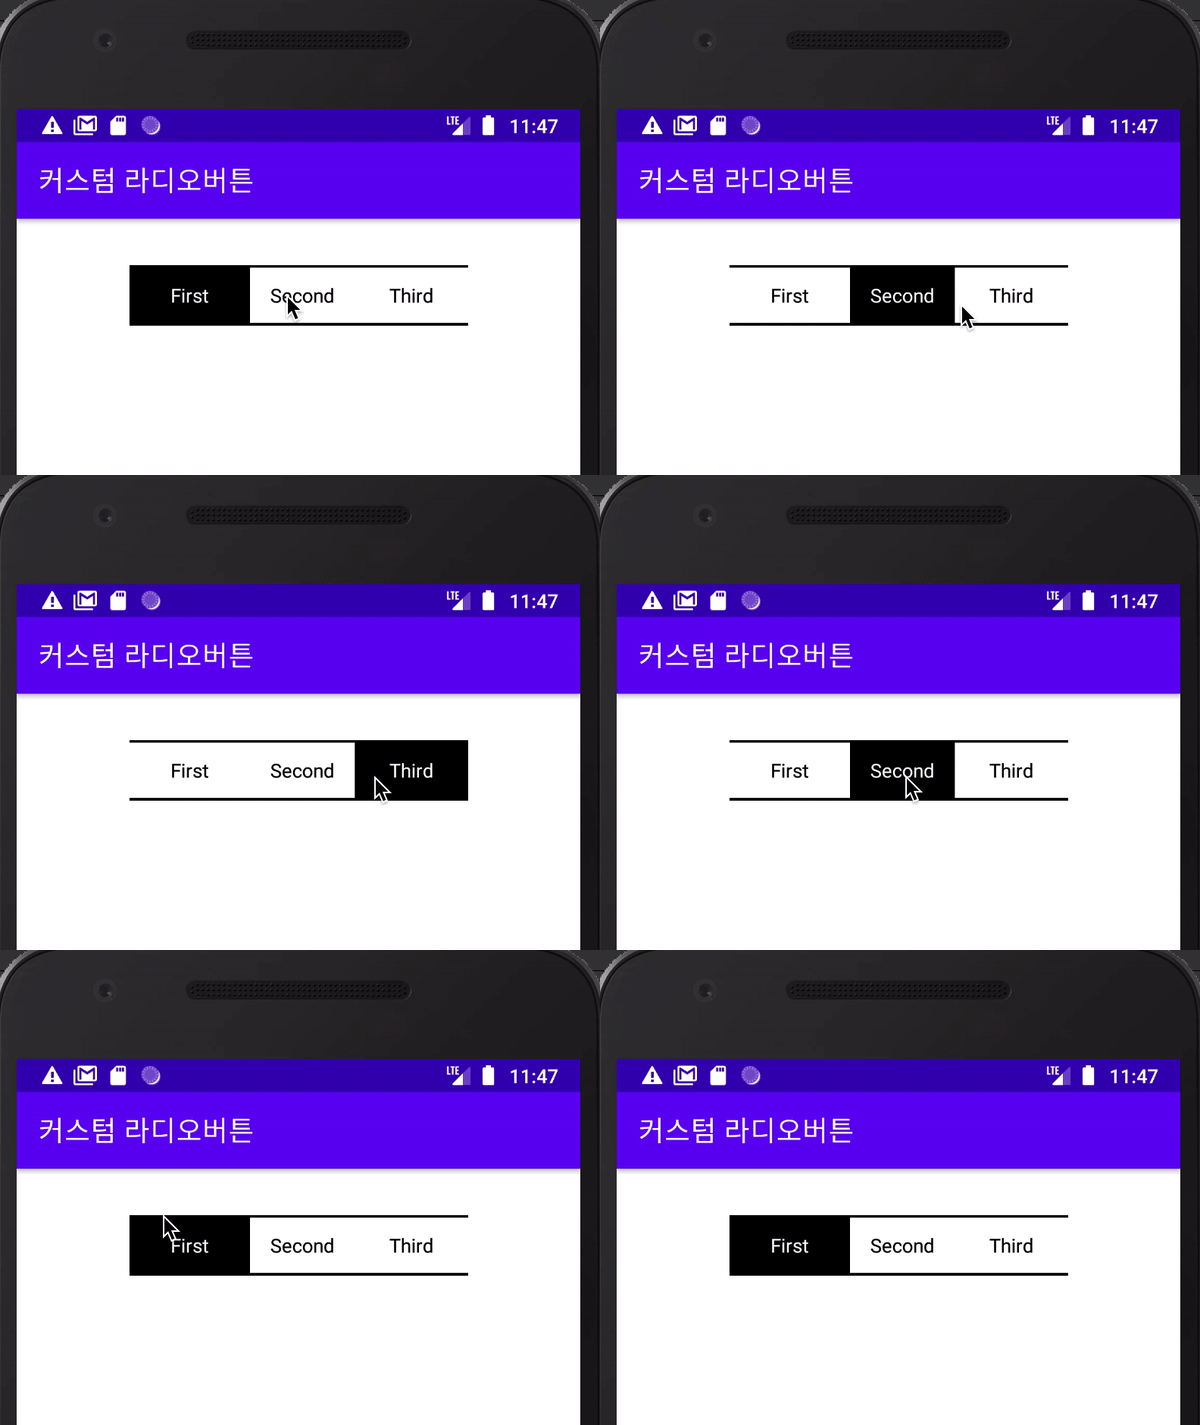
selector를 활용하면, 아래와 같은 커스텀 라디오 버튼도 쉽게 만들 수 있다.

위와 같이 라디오 버튼에 selector를 적용한 예제는 아래 글을 참고
'개발(Development) > Android(안드로이드)' 카테고리의 다른 글
| 안드로이드스튜디오: 에뮬레이터 생성 및 실행 방법(AVD Manager) (0) | 2021.08.10 |
|---|---|
| [안드로이드] Button의 background 설정 및 커스텀 drawable(selector 등) 적용 불가 해결 방법 (0) | 2021.08.04 |
| [안드로이드] 버튼 selector 일부 테두리 적용 설정 방법: layer-list (0) | 2021.08.03 |
| [안드로이드] 커스텀 RadioButton 만드는 방법(배경, 테두리, 이미지 적용) (0) | 2021.08.02 |
| [안드로이드] strings.xml 텍스트 줄바꿈(개행 처리), 공백 추가 방법: TextView (0) | 2021.08.01 |


댓글